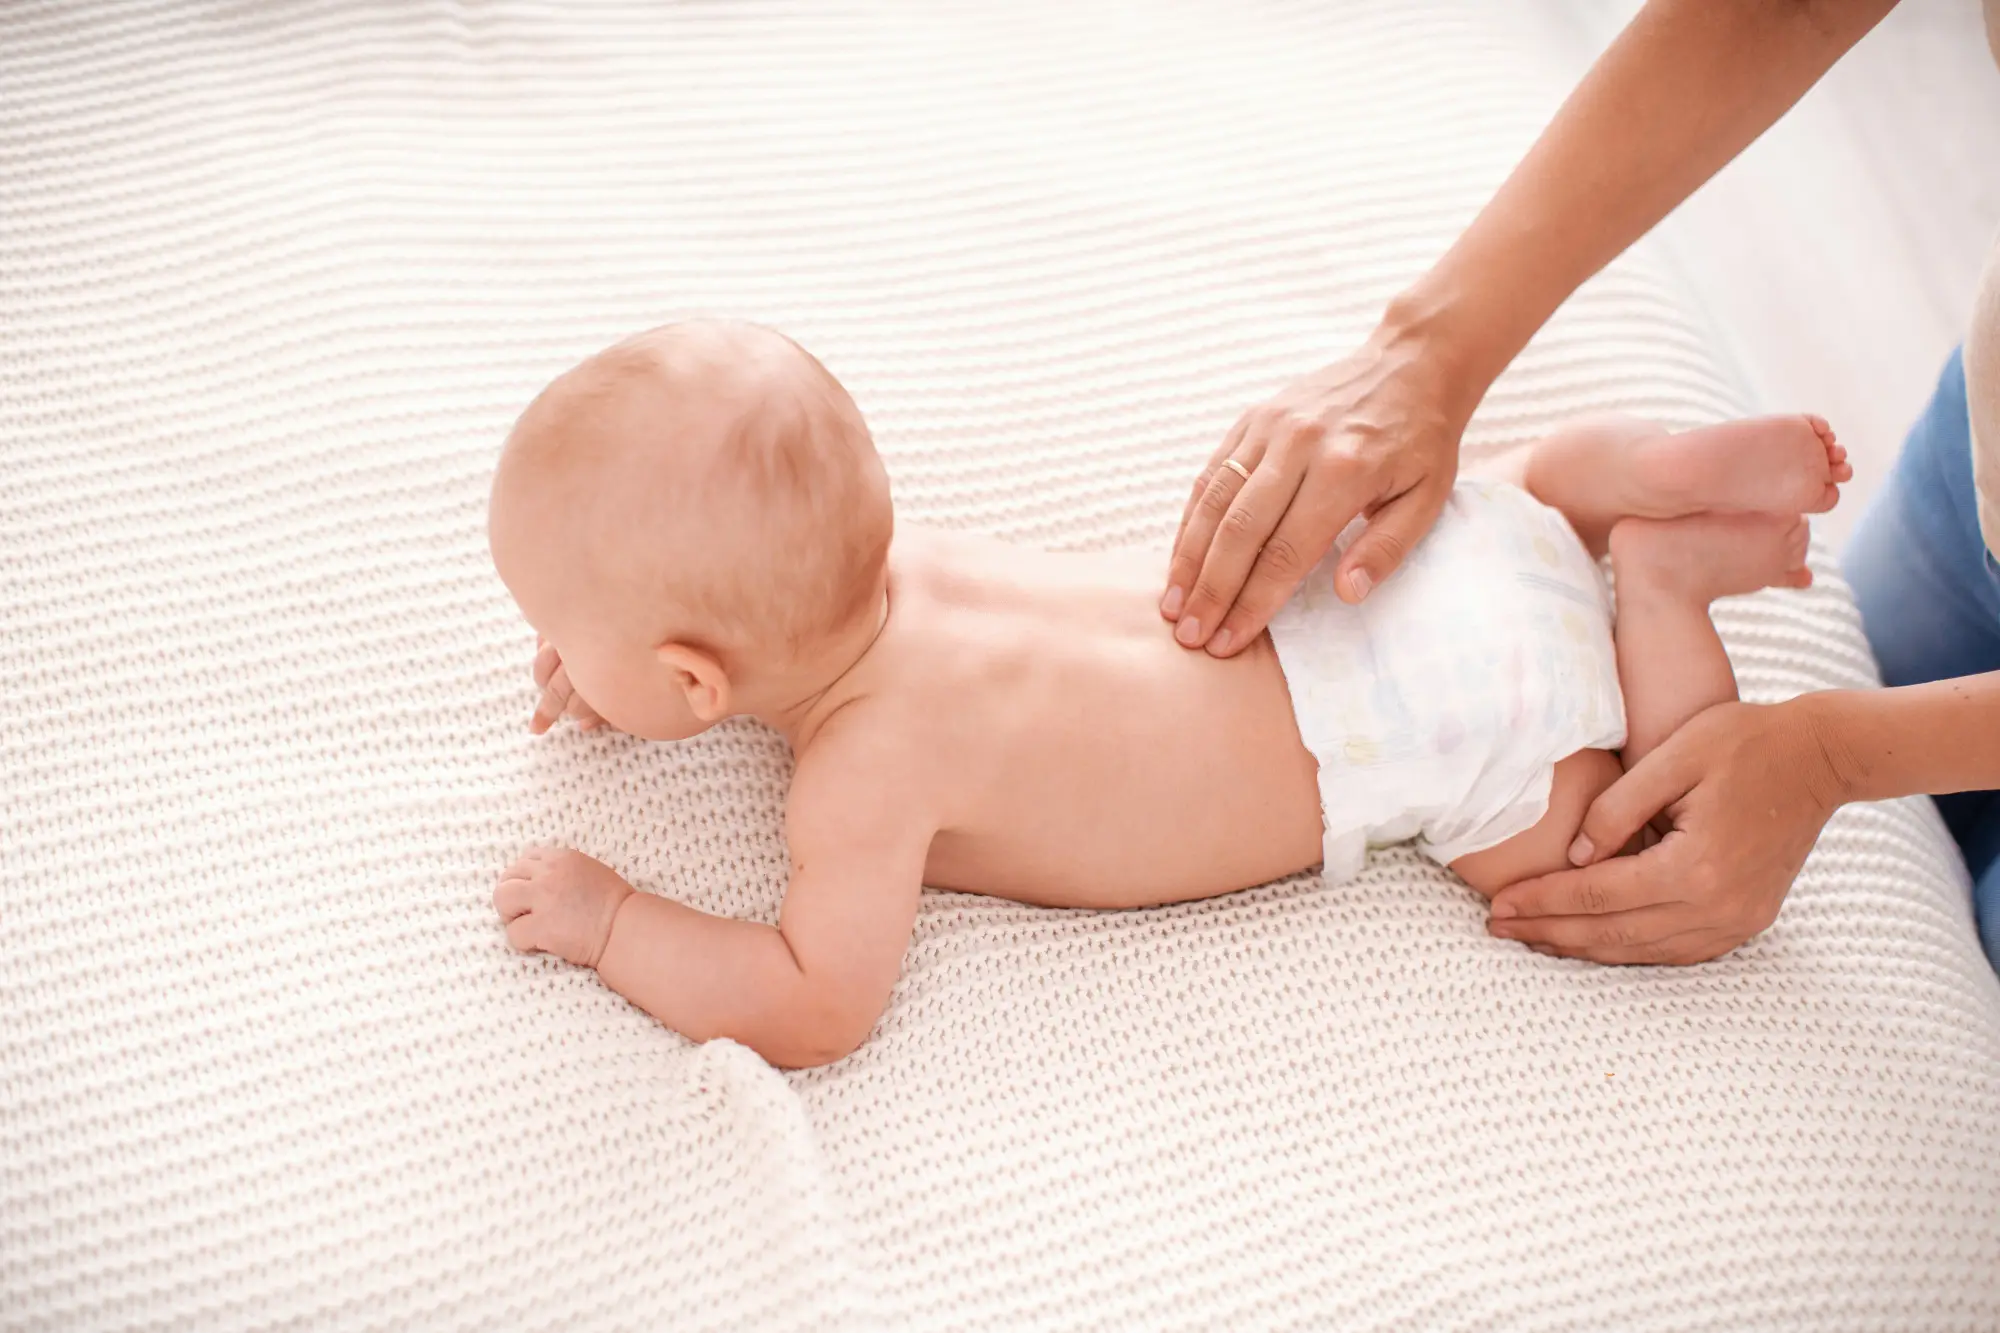
Changing your newborn’s diaper is a huge part of parenting. It is true that changing a diaper needs a lot of practice. But, whether you are a new parent or an old one you will be doing a lot of practicing with your new baby. Parents make really funny mistakes when it comes to diaper changing like putting the diaper backwards and so on..
So, here is your ultimate guide to diaper changing which will walk you through the process step by step and will help you overcome the common mistakes new parents make. Keep reading!
Diapering Essentials To Have In Hand
- – Diapers (cloth or disposable) in the correct size
- – Diaper cream or ointment
- – Wipes
- – Change of clothes for your baby (in case of a blowout)
- – Disposable bag
- – Changing table or changing pad
How To Change A Diaper Step By Step
First of all, make sure that you have everything we mentioned above in reach. Then, start by following these 10 easy steps:
1- Wash your hands
2- Gently lay your baby on his/ her bac on the changing surface
3- Unfasten the diaper pads
4- Raise your baby’s bottom by gently holding his/ her ankles and lifting him/ her
5- Place the diaper away from your baby’s reach
6- Clean the baby’s diaper area. If your baby is a girl, always go from the front to the back to avoid any infections
7- Slide a clean diaper under your baby’s bottom then apply any ointments or creams
8- Close the diaper carefully
9- Throw away the dirty diaper and clean the changing area
10- Wash your hands and your baby’s hands
Don’t worry, you will certainly master the art of diaper changing through time considering how many times you will be changing it!


